
The Selfie Lighting Bible: Make Any Phone Look Pro in 5 Minutes
· LookMood
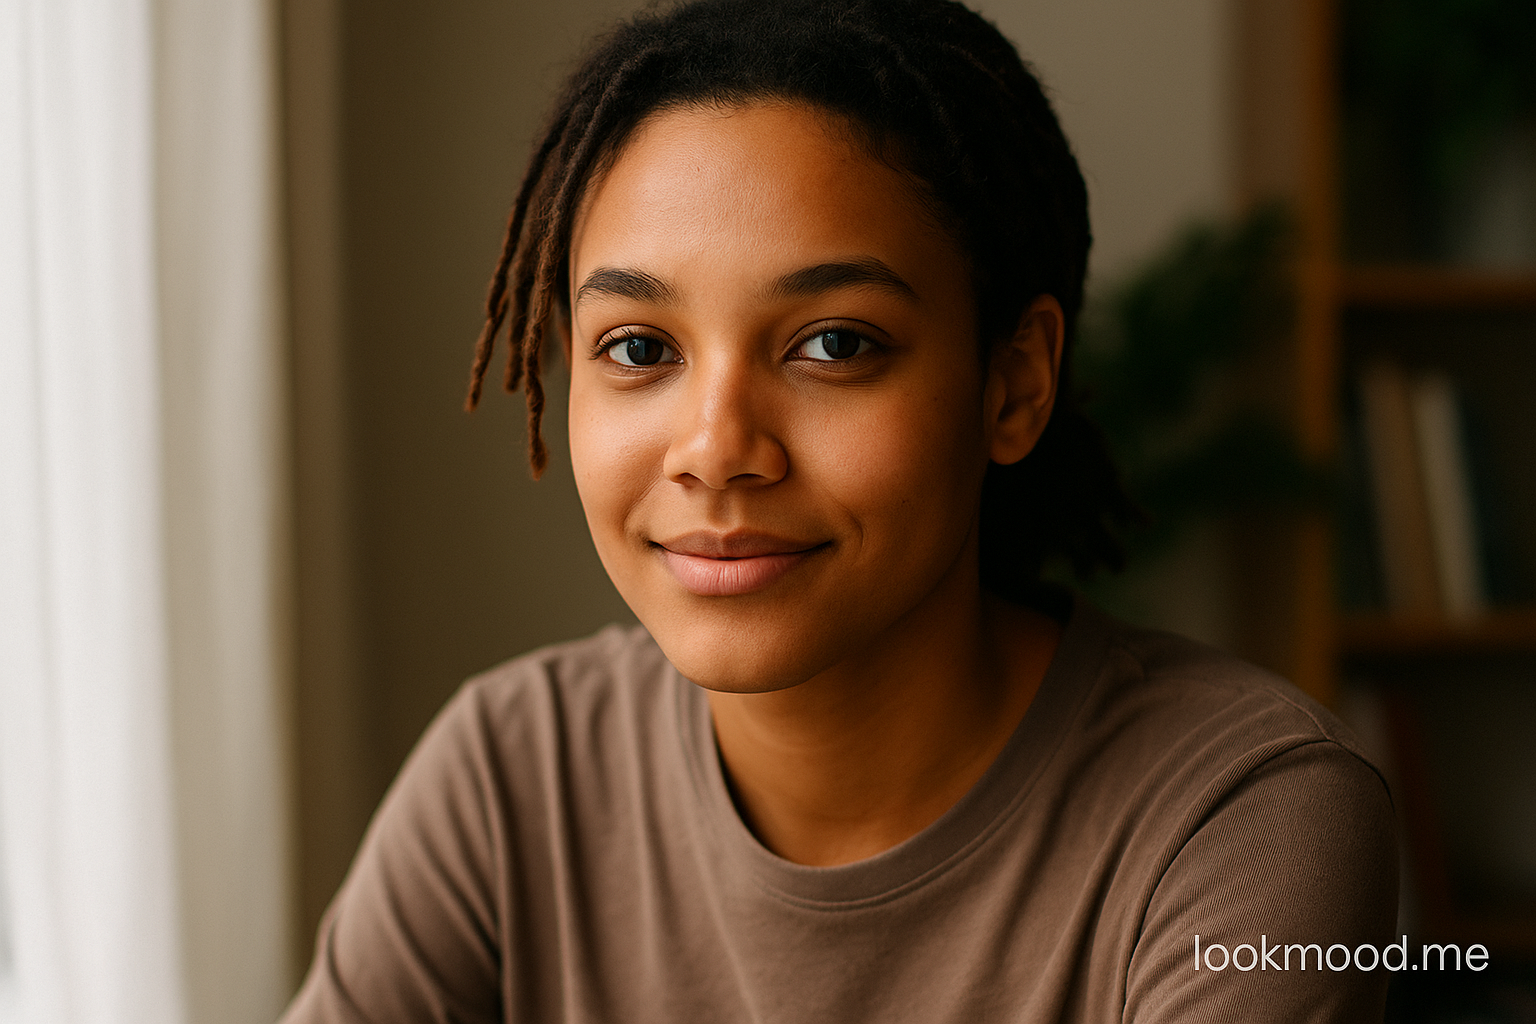
If the light is wrong, everything looks off—skin, eyes, even your vibe. The fix isn’t gear; it’s simple positioning. Use the guides below to make any phone camera look clean and flattering, then sanity-check your setup in Live Mood Mirror.
What great lighting actually does
You’re aiming for soft light (gentle shadows), a tiny eye sparkle called a catchlight, and a bit of separation from the background. Get those three and your face reads clearer and friendlier—on calls, photos, and video.
Quick start (30-second checklist)
- Face one main light (window or lamp) at a 30–45° angle.
- Kill harsh overheads; they cause shiny foreheads and “raccoon eyes”.
- Phone at eye level, arm’s length, head-and-shoulders framing.
- Add a soft fill (laptop/phone on a white page) if shadows feel heavy.
- Hold still 10–15s → test in Live Mood Mirror.
1) Window Light — the zero-cost pro look
Daytime window light is big and soft, which flatters almost everyone. Rotate slightly so one side of your face is a touch brighter.
- Turn off overheads so the window remains the hero light.
- Step closer/farther to tune brightness; closer = brighter, softer.
- Prop the phone at eye level (stack of books works).
Looks right when: eyes have a small sparkle; shadow side is gentle, not black.
2) One-Lamp Setup — the “$0 softbox”
No window? A desk/floor lamp can mimic studio light if you place it well and diffuse it.
- Lamp slightly above eye level, 45° off to one side.
- Too harsh? Diffuse with the lampshade or a thin white tissue (not touching the bulb).
- Face the lamp and rotate your head until the far cheek has a faint shadow line.
Looks right when: skin texture calms down and the face has gentle 3D shape.
3) Car-Light Trick — surprisingly cinematic
Park safely. Sit facing the windshield. The sky becomes a giant softbox; the visor adds extra top diffusion.
- Prefer overcast/open shade; avoid hard direct sun.
- Prop phone at eye height; keep background simple.
Looks right when: eyes are bright and the background falls slightly out of focus.
4) Screen-as-Fill — free, controllable bounce
To soften the shadow side, open a blank white page on a laptop or spare phone and place it just off-camera on your darker side.
- Raise screen brightness until shadows relax (don’t erase them completely).
- Want warmth? Use a pale peach background instead of white.
5) Overheads — when to turn them off
Ceiling lights cast top-down shadows that hollow the eyes and add forehead shine. If the face looks tired or shiny, switch them off and let the window/lamp do the work.
6) Distance, Angle, Framing — the instant polish
Composition sells the light. Keep the lens at eye level and let the top third of the frame hold your eyes.
- Eye level: no high-angle squish, no up-the-nose low angle.
- Distance: arm’s length; head-and-shoulders crop.
- Vertical: stick to vertical for portraits; avoid heavy tilts.
7) Quick shine control
Highlights should look healthy, not oily. Tame hotspots before you adjust the lamp.
- Blot forehead/nose with a tissue or oil-control paper.
- If available, a light dusting of translucent powder.
- Lower lamp brightness 10–20% after blotting.
8) Night & low-light — avoid blur first
In the dark, blur ruins detail more than noise does. Stability beats everything.
- Prop the phone; use the brightest single source you have.
- Bring the light closer and diffuse rather than adding many small lights.
- If your phone enables “night mode,” hold still for the whole capture.
9) Backlight rescue
When the background is brighter than your face (window behind you), either turn to face it or pull the phone so the window isn’t in frame, then add a screen-fill.
10) Outside — golden hour & open shade
Outdoors can look magical with almost no effort—if you choose the right moments.
- Golden hour: sun low = soft, flattering glow. Turn until you stop squinting.
- Open shade: stand just inside shade with the bright sky in front of you.
11) Color temperature & white balance
Mixing warm (orange) and cool (blue) lights confuses skin tones. Try to keep one color.
- Near windows, set WB to “Daylight” if your camera allows.
- Under bulbs, try “Incandescent/Warm”.
- Quick check: hold white paper—if it looks orange or blue, adjust position or source.
12) Lenses & zoom — avoid distortion
Ultra-wide lenses stretch features at selfie distance. If you have multiple lenses:
- Use the 1.5–2× portrait lens for natural proportions.
- Step back rather than digitally zooming on the front camera.
Background “practicals” — instant depth
A small lamp or soft light behind you (dim!) creates a cozy glow and separates you from the wall. Stand 1–2 steps away so the background softens.
Fast recipes (copy/paste)
- Desk (day): window at 45° + screen fill on dark side + overhead off.
- Desk (night): lamp as key at 45° + tissue diffusion + laptop white page as fill.
- Living room: near balcony door (open shade) + kill ceiling lights + slight head turn.
- Car: parked, visor down, face windshield; record 10–15s.
Troubleshooting — symptoms → 10-second fixes
- Face too dark: turn toward the brightest source; add screen fill.
- Harsh shadow line: diffuse the lamp or back it up 20–30 cm.
- Shiny forehead: blot + lower brightness a notch + raise light slightly.
- Tired eyes: lift the light a bit and rotate 10° to catch a small eye sparkle.
- Busy background: move 1–2 steps forward; let it blur.
- Blurry clip: prop phone; shorter 10–15s takes; stay still.
Test your vibe in real time (free)
Once your light is set, open Live Mood Mirror and watch how a tiny head turn or lamp move changes your vibe. When it looks calm and bright, you’re done.
- Spend 10 seconds finding the best angle.
- Record a 10–15s clip and run a quick mood check.
- Save the setup: snap a room photo so you can recreate it fast next time.
Final notes
Lighting is leverage. One reliable recipe in your space = better Zooms, better selfies, better content—no extra gear, no stress.